Dazebox Home, Share, Duo and Urban
Step 1: Download and open the Daze App
1. download the Daze application from Google Play or the App Store.
2. Open the application and click on "Register".
3. Enter your details and confirm your registration.
4. After confirming access via the activation link you received by email, you can log in for the first time.
5. If you can't find the message from Daze in your inbox, please check your spam folder.
Step 2: List of networks
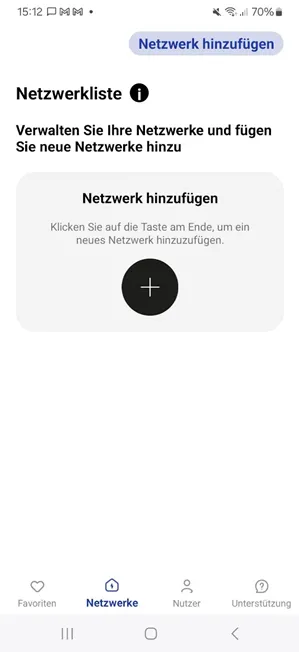
1. Navigate to the "Networks" page to display the list of networks.
2. Click on "Add a network".
Step 3: Create a new network
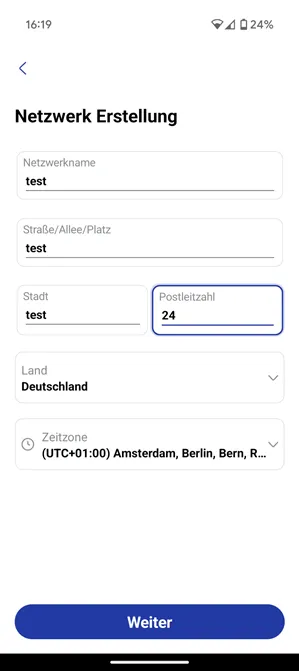
1. Create a new network by entering its name and location.
2. Make sure you select the right time zone.
3. Click "Next".
4. Make sure you do it online.
Step 4: Configure the installation settings
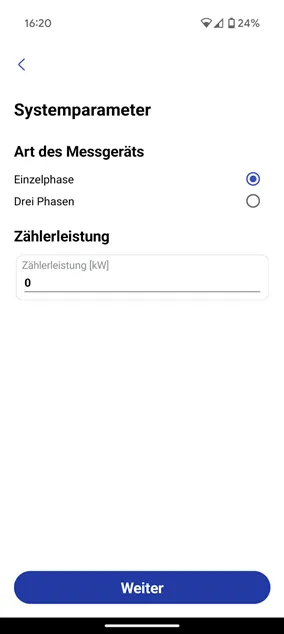
- Set the installation parameters by selecting the meter type.
- Specify whether the connection is single-phase or three-phase.
- Enter the available connection power.
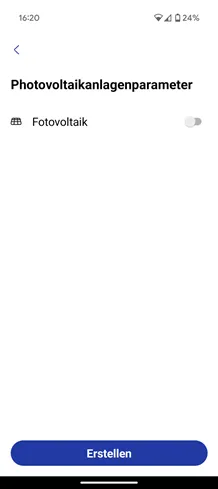
Step 5: Configure the PV installation settings (if available)
- Enable the toggle if a PV (photovoltaic) system is installed on site.
- If a PV system is present, select whether it is single-phase (1ph) or three-phase (3ph).
Step 6: Add a charging station
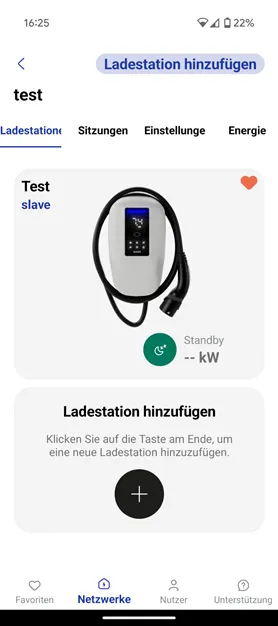
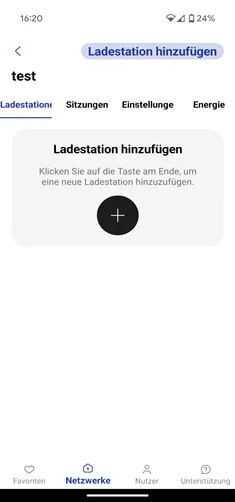
- Your network is now created and displayed on your screen.
- Click “Add charging station” to add charging stations.
Step 7: Configure the charging station
- The charging station configuration screen appears.
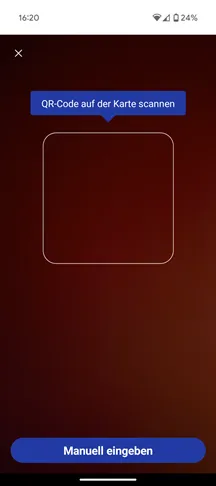
- Click “Next” to continue to the QR code scan.
- Scan the QR code on the PUK card to assign the charging station.
Step 8: Firmware update settings
- Read the information on the screen carefully.
- Choose your preference for firmware updates.
- Click “Next” to continue.
Step 9: Continue charging station setup
Continue the configuration. Move close to the charging station, because a BLE (Bluetooth Low Energy) connection is required for this step.
Step 10: Select the power management scenario
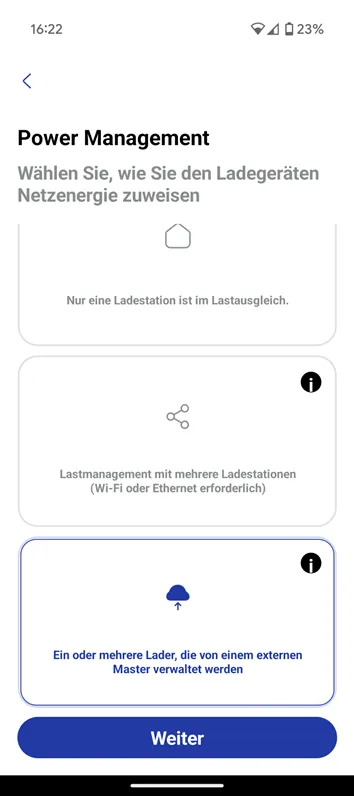
An installation diagram appears on the screen. Choose one of the following energy management scenarios. Select how grid power should be allocated to the charging stations:
One or more charging stations with fixed power. No Wi-Fi or Ethernet connection required. (Diagram A)
One charging station with load management. No Wi-Fi or Ethernet connection required. (Diagram B)
More than one charging station with load management. Ethernet or Wi-Fi connection required. (Diagram C)
One or more charging stations managed by an external master. (Diagram D)
Select the last option (Diagram D) and continue the configuration.
Step 11: Wi-Fi configuration
Connect the charging station to the same router as the external master.
If the connection uses an Ethernet cable, Wi-Fi setup is not required.
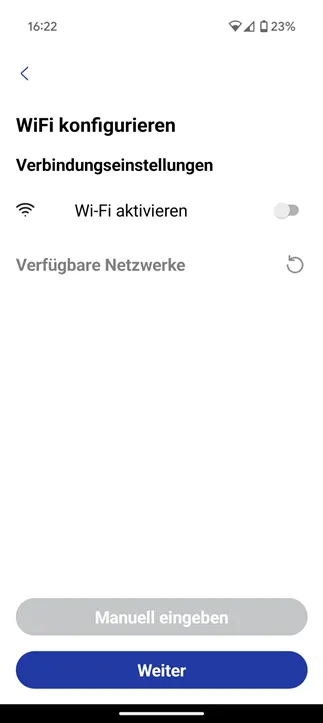
Step 12: Charging station locked or free (available)
Select Free (available) to allow open access to the charging station.
Select Locked to allow access only via the app or RFID, if the user is authorized.
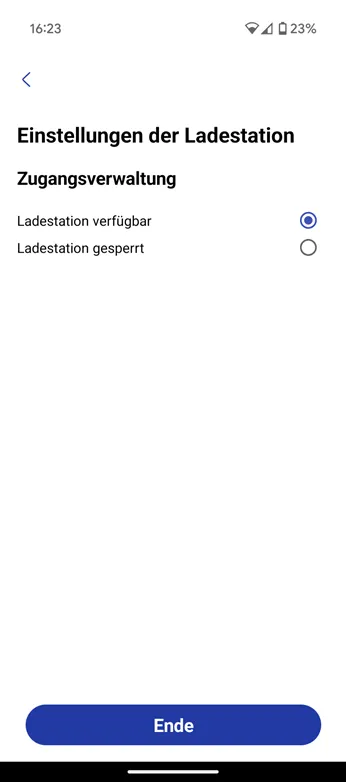
Step 13: Configuration complete
The setup is now complete, and you can see the charging station in the network as “slave”.