ChargeAmps Aura
We highly recommend to follow this activation steps before the actual installation is taken place, since the requests for the partner account from Chargeamps and the request to accept your organization on the CLEMAP account could take time.
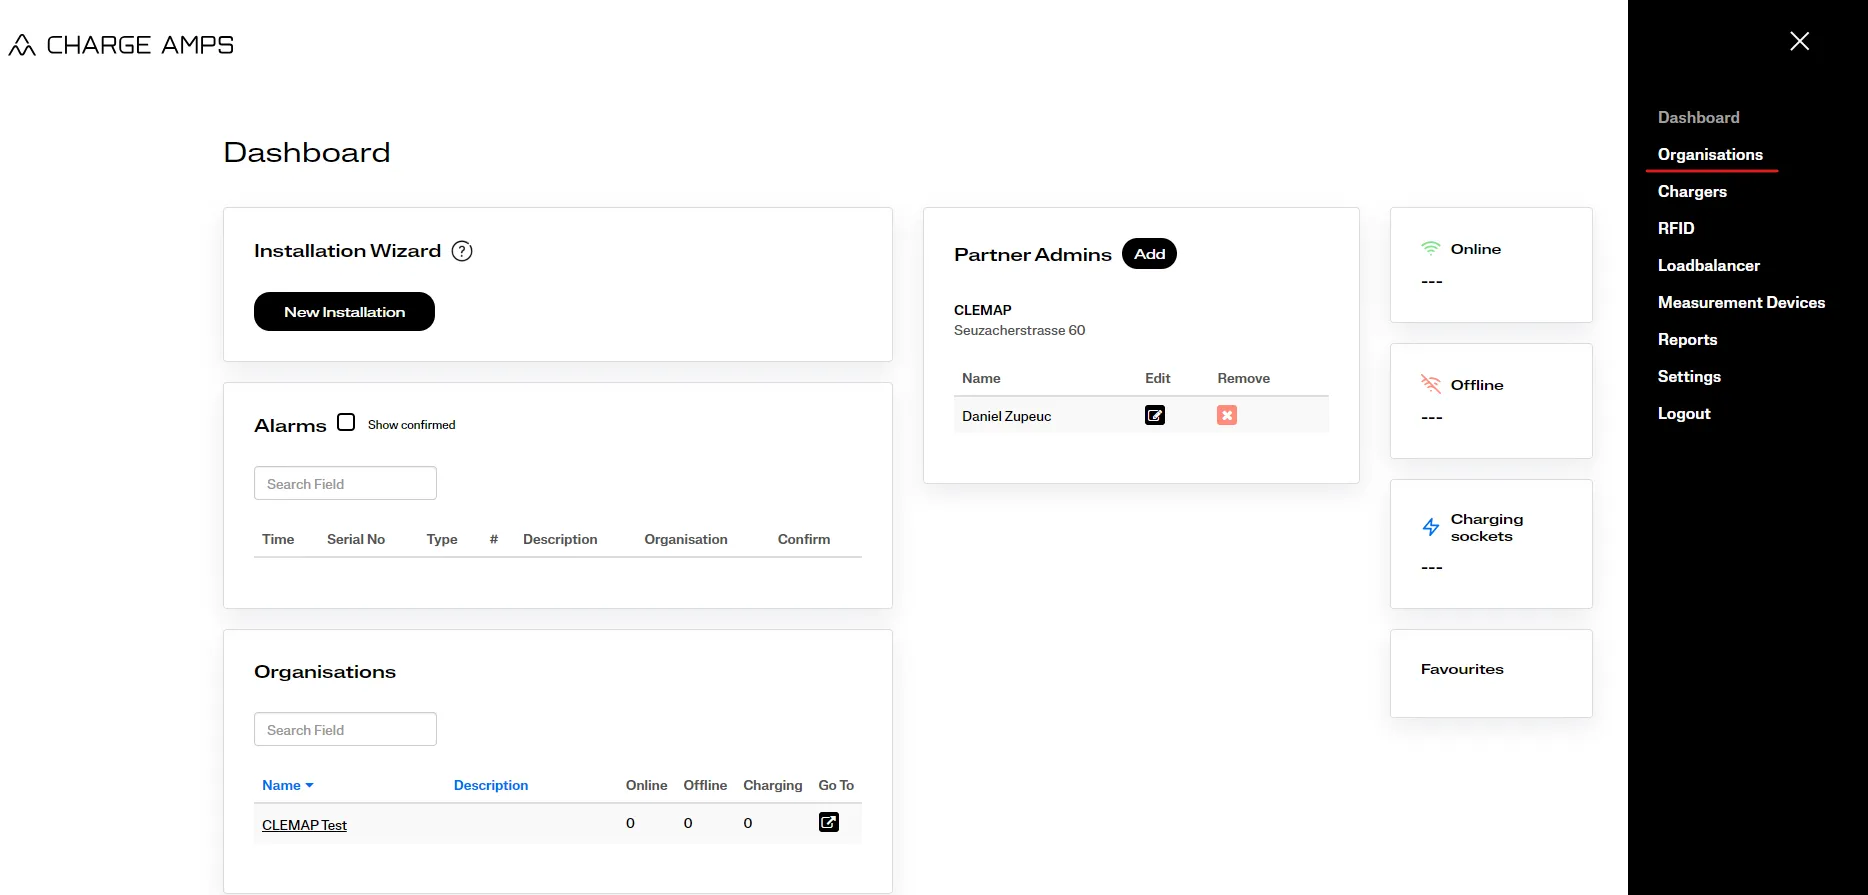
1) Go to https://my.charge.space/partner and login or create an account: Chargeamps support has to approve this account.
2) In your partner page, go to Organisations on the lateral bar.

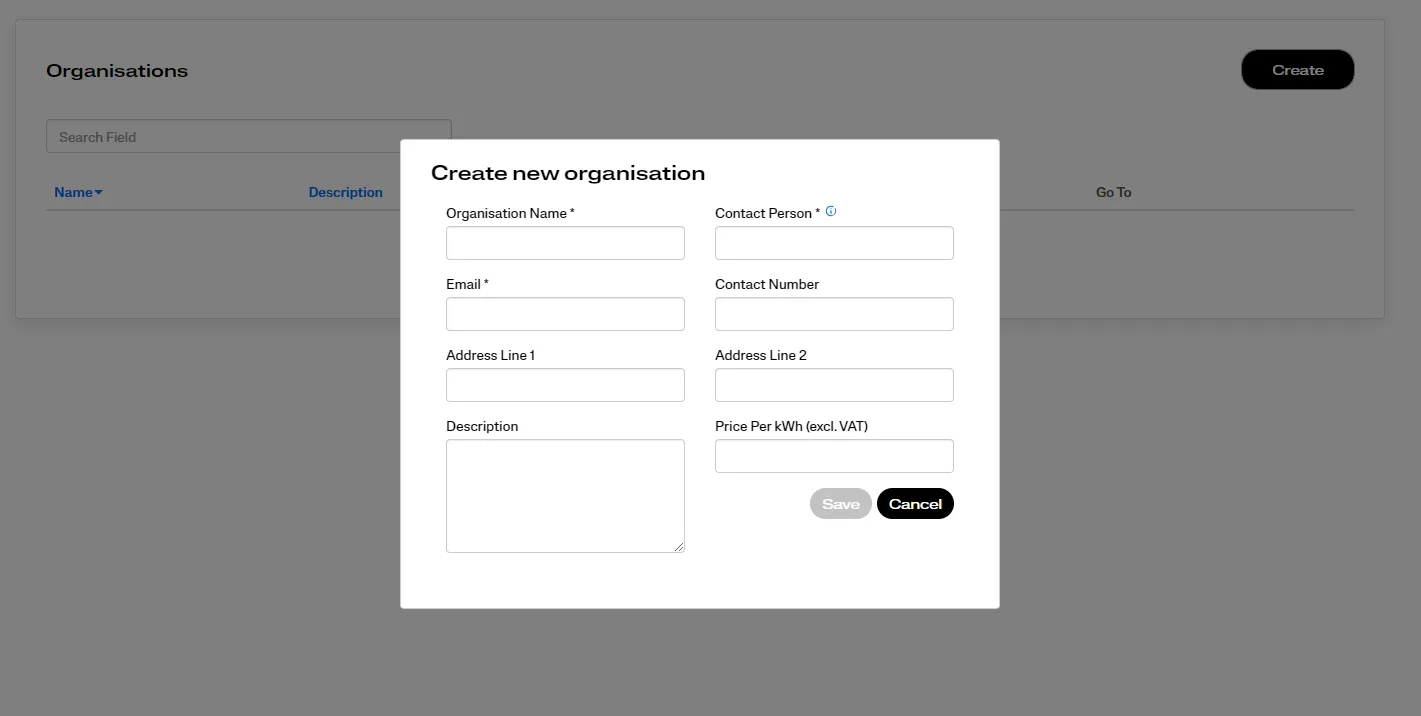
3) On the Organisations page you create a new Organization to manage your stations.

4) Now click on the "Go To" button of the organization you created. It will lead you to https://my.charge.space/admin/#/dashboard

5) Now on the lateral bar you click on Chargers. In the Chargers page add your Aura with Serial Number and PIN.

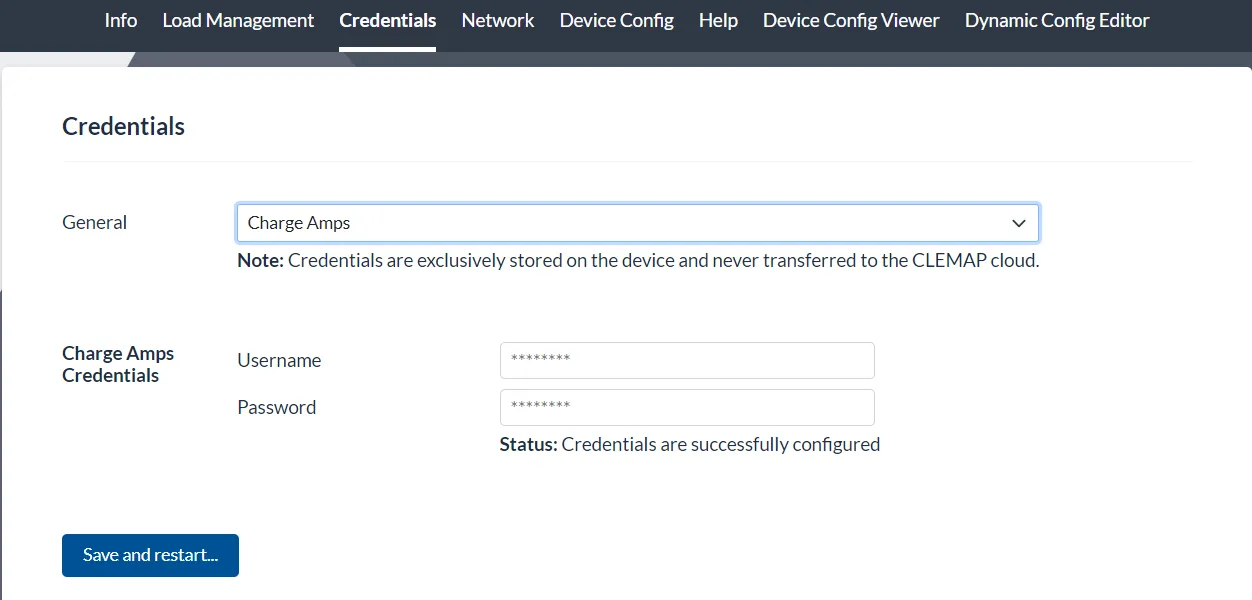
6) Go to the Credentials tab your CLEMAP Device's web interface (**ip_address**:4000 in the browser).
7) Enter your ChargeAmps Username and Password and click on "Save and restart...".

8) After the restart you now can add your Aura in the CLEMAP Interface.
9) At the clemap interface (in floem or the ip address:4000 in the browser if local) Add both sockets of your station independetly (each socket is going to be treated as a charger)
Please add the Serial of the Station (it's the same for each Socket).

Happy charging!